@nativescript-community/ui-drawer
@nativescript-community/ui-drawer
Easily add a side drawer (side menu) to your projects.
 |
 |
|---|---|
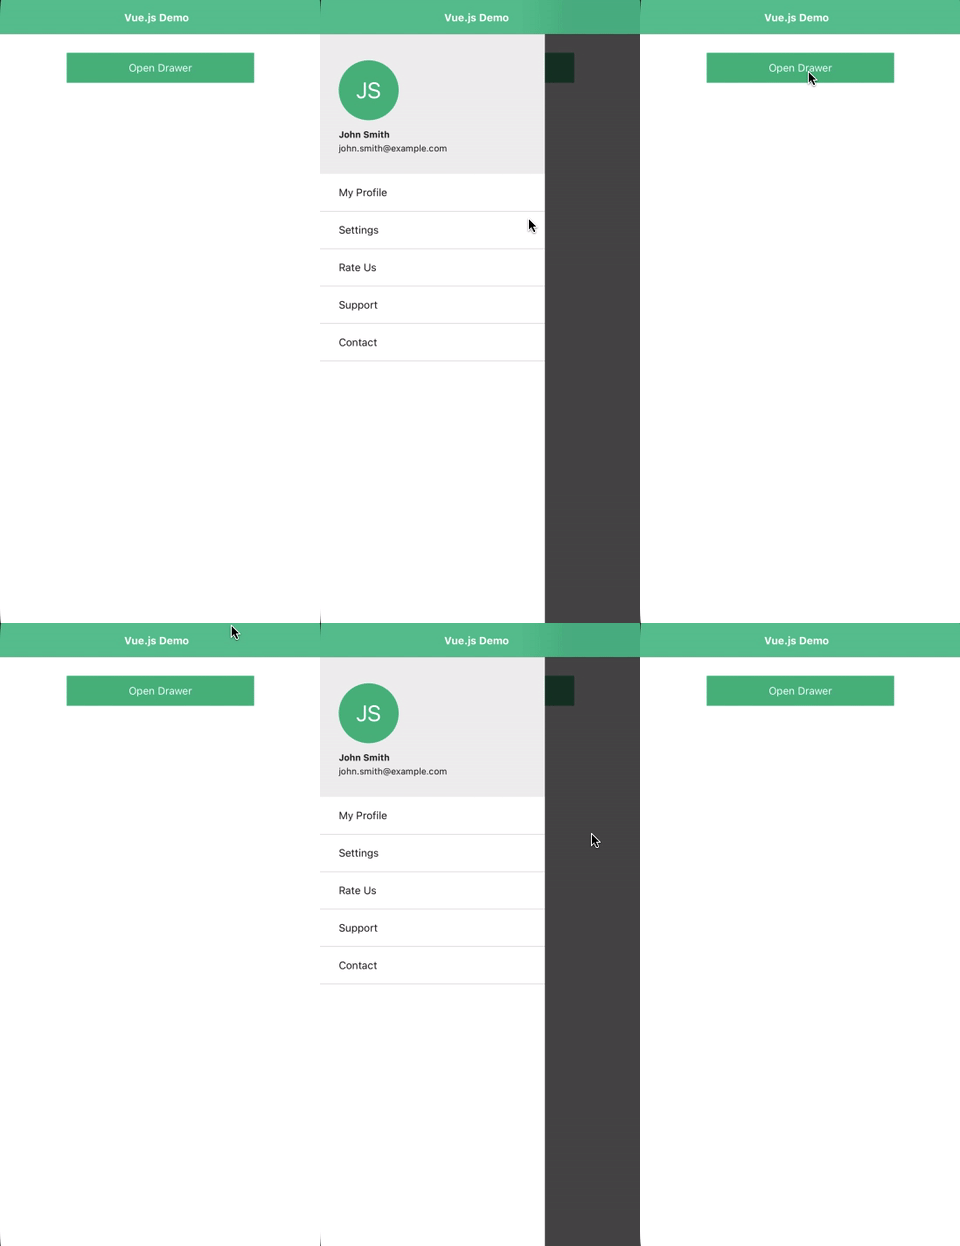
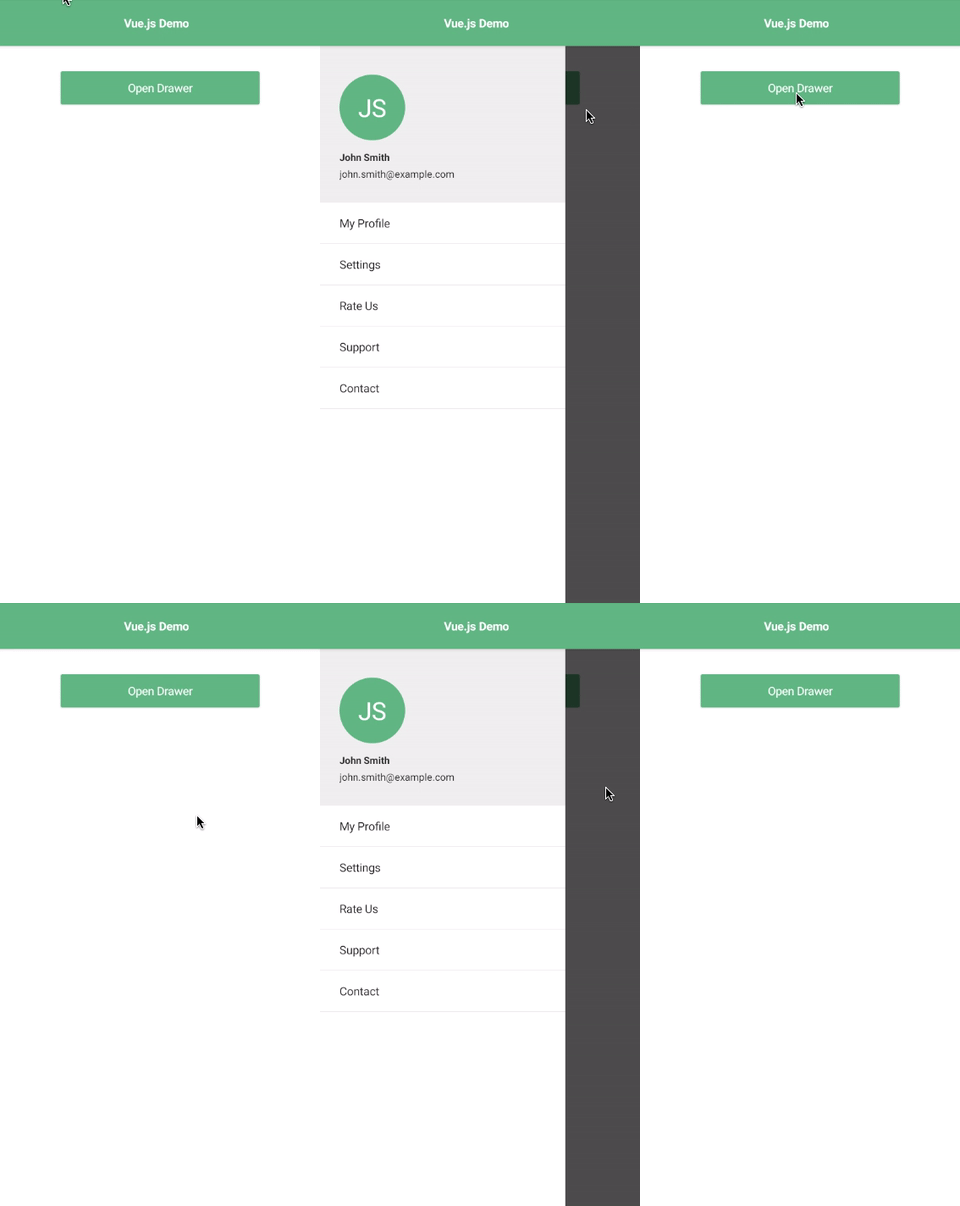
| iOS Demo | Android Demo |
Table of Contents
- Installation
- Configuration
- API
- Usage in Angular
- Usage in React
- Usage in Svelte
- Usage in Vue
- Usage in Vue3
- Demos and Development
- Contributing
- Questions
Installation
Run the following command from the root of your project:
ns plugin add @nativescript-community/ui-drawer
Configuration
For gestures to work, make sure to add the following code block inside the main application file (e.g. app.ts):
import { install } from '@nativescript-community/ui-drawer';
install();
API
Properties
| Property | Default | Type | Description |
|---|---|---|---|
| leftDrawer | undefined |
View |
View containing the content for the left side drawer |
| rightDrawer | undefined |
View |
View containing the content for the right side drawer |
| topDrawer | undefined |
View |
View containing the content for the top side drawer |
| bottomDrawer | undefined |
View |
View containing the content for the bottom side drawer |
| mainContent | undefined |
View |
View containing the main content of the app |
| gestureEnabled | true |
boolean |
Boolean setting if swipe gestures are enabled |
| backdropTapGestureEnabled | true |
boolean |
Allow tapping the backdrop to close the drawer |
| backdropColor | new Color('rgba(0, 0, 0, 0.7)') |
Color |
The color of the backdrop behind the drawer |
| leftDrawerMode | slide |
Mode ('under' or 'slide') |
The drawer's enter-animation behavior |
| rightDrawerMode | slide |
Mode ('under' or 'slide') |
The drawer's enter-animation behavior |
| gestureMinDist | 10 |
number | The min "swipe" distance to trigger the menu gesture |
| gestureHandlerOptions | null |
PanGestureHandlerOptions | Options to customize the pan gesture handler |
| leftSwipeDistance | 40 |
number | The "left" zone size from where the gesture is recognized |
| rightSwipeDistance | 40 |
number | The "right" zone size from where the gesture is recognized |
| topSwipeDistance | 40 |
number | The "top" zone size from where the gesture is recognized |
| bottomSwipeDistance | 40 |
number | The "bottom" zone size from where the gesture is recognized |
| leftOpenedDrawerAllowDraging | true |
boolean | Allow dragging the opened menu |
| rightOpenedDrawerAllowDraging | true |
boolean | Allow dragging the opened menu |
| topOpenedDrawerAllowDraging | true |
boolean | Allow dragging the opened menu |
| bottomOpenedDrawerAllowDraging | true |
boolean | Allow dragging the opened menu |
Methods
| Name | Return | Description |
|---|---|---|
| open() | void |
Programatically open the drawer |
| close() | void |
Programatically close the drawer |
| toggle() | void |
Programatically toggle the state of the drawer |
| install() | void |
Install gestures |
Events
| Name | Event Data | Description |
|---|---|---|
| open | side, duration |
Drawer opens |
| close | side, duration |
Drawer closes |
Usage in Angular
Import the module into your project.
import { DrawerModule } from "@nativescript-community/ui-drawer/angular";
@NgModule({
imports: [
DrawerModule
]
schemas: [
NO_ERRORS_SCHEMA
]
})
export class AppModule { }
Examples:
- Basic Drawer
- A basic sliding drawer.
- All Sides
- An example of drawers on all sides: left, right, top, bottom.
Usage in React
Register the plugin in your app.ts.
import DrawerElement from '@nativescript-community/ui-drawer/react';
DrawerElement.register();
Examples:
- Basic Drawer
- A basic sliding drawer.
- All Sides
- An example of drawers on all sides: left, right, top, bottom.
Usage in Svelte
Register the plugin in your app.ts.
import DrawerElement from '@nativescript-community/ui-drawer/svelte';
DrawerElement.register();
Examples:
- Basic Drawer
- A basic sliding drawer.
- All Sides
- An example of drawers on all sides: left, right, top, bottom.
Usage in Vue
Register the plugin in your app.js.
import DrawerPlugin from '@nativescript-community/ui-drawer/vue'
Vue.use(DrawerPlugin);
Examples:
- Basic Drawer
- A basic sliding drawer.
- All Sides
- An example of drawers on all sides: left, right, top, bottom.
Usage in Vue3
Register the plugin in your app.js.
import DrawerPlugin from '@nativescript-community/ui-drawer/vue3'
app.use(DrawerPlugin);
Examples:
- Basic Drawer
- A basic sliding drawer.
- All Sides
- An example of drawers on all sides: left, right, top, bottom.
Demos and Development
Repo Setup
The repo uses submodules. If you did not clone with --recursive then you need to call
git submodule update --init
The package manager used to install and link dependencies must be pnpm or yarn. npm wont work.
To develop and test:
if you use yarn then run yarn
if you use pnpm then run pnpm i
Interactive Menu:
To start the interactive menu, run npm start (or yarn start or pnpm start). This will list all of the commonly used scripts.
Build
npm run build.all
WARNING: it seems yarn build.all wont always work (not finding binaries in node_modules/.bin) which is why the doc explicitly uses npm run
Demos
npm run demo.[ng|react|svelte|vue].[ios|android]
npm run demo.svelte.ios # Example
Demo setup is a bit special in the sense that if you want to modify/add demos you dont work directly in demo-[ng|react|svelte|vue]
Instead you work in demo-snippets/[ng|react|svelte|vue]
You can start from the install.ts of each flavor to see how to register new demos
Contributing
Update repo
You can update the repo files quite easily
First update the submodules
npm run update
Then commit the changes Then update common files
npm run sync
Then you can run yarn|pnpm, commit changed files if any
Update readme
npm run readme
Update doc
npm run doc
Publish
The publishing is completely handled by lerna (you can add -- --bump major to force a major release)
Simply run
npm run publish
modifying submodules
The repo uses https:// for submodules which means you won't be able to push directly into the submodules.
One easy solution is t modify ~/.gitconfig and add
[url "ssh://git@github.com/"]
pushInsteadOf = https://github.com/
Questions
If you have any questions/issues/comments please feel free to create an issue or start a conversation in the NativeScript Community Discord.